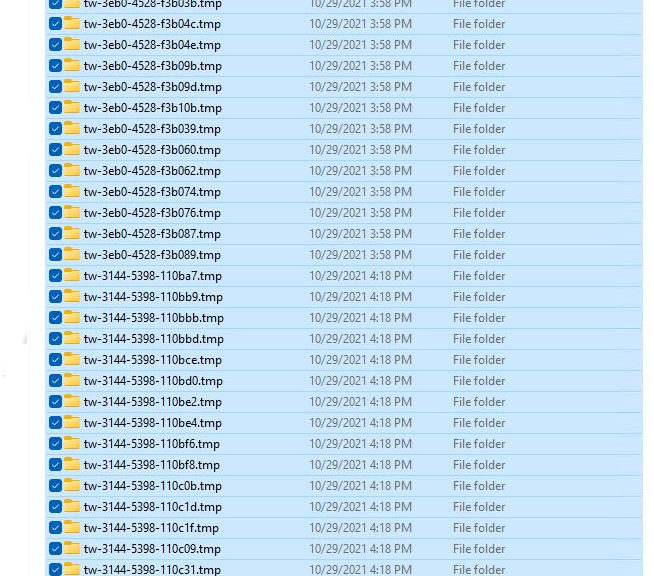
Here’s an interesting bit of news. After seeing reports about folders that end with a .tmp extension (!) in Windows 11, i found some on every machine I checked running that OS. These folders are invariably empty, and may be safely deleted. When I say: Kill these Windows 11 tw*.tmp folders, you shouldn’t suffer any adverse effects if you take that advice.
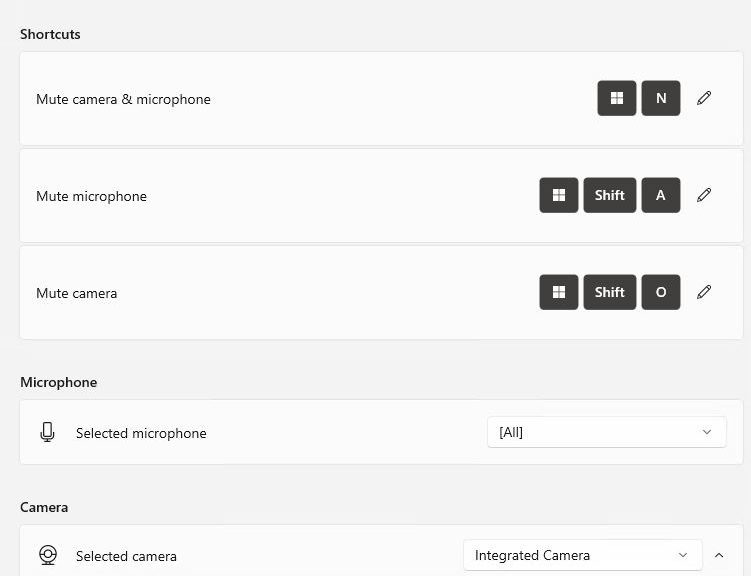
See a representative list in the lead-in graphic for this story. The folder spec is clearly spelled out therein. For the record, it is:
C:\Windows\System32\config\systemprofile\AppData\Local
Why Kill These Windows 11 tw*.tmp Folders?
Because they’re empty. Because you don’t need them. And because they can swamp the other, valid data in that folder. I read reports of “hundreds” to “tens of thousands” of such empty folders at WinAero and Ghacks.net. The largest number I found on any of my Windows 11 PC was 94. Ironically, it was the one running Build 22000.258, a recent production 21H2 version. My other Beta and Dev Channel PCs had between 40 and 50 such folders in the same directory, by way of comparison.
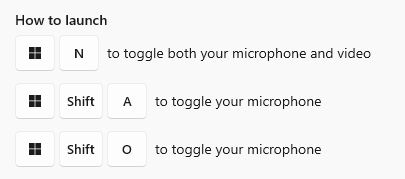
After cleanup, here’s what’s left in that folder on my i7-8850H X1 Extreme laptop:
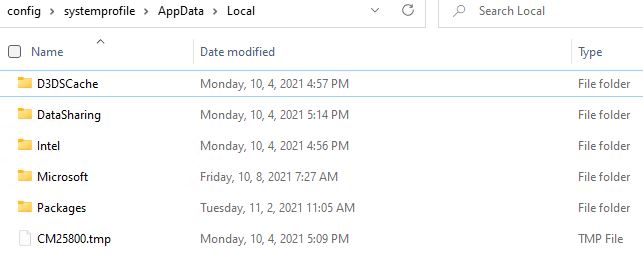
Not much left after cleanup: 5 folders and a lone .tmp file
[Click image for full-sized view.]
Over at Ghacks, Martin Brinkmann correctly observes as follows. “Empty folders don’t take up much disk space and they don’t interfere with the operation of the system.” It’s not mandatory to clean them out yourself. But OCD inclined Windows users (like me) will nevertheless delight in doing so!
Note: According to Brinkmann’s in-story reference to Woody Leonhard (AskWoody) this issue appears in 2019 versions of Windows 10, through current versions, too. And right now, I count a whopping 1,115 of them on my production desktop as I send them to the Recycle Bin. Woo hoo!