I found myself looking at a suggestion from PowerToys on a test PC yesterday. It popped up when I opened Windows Terminal as Administrator, as per usual practice. It warned me that Fancy Zones and other PowerToys tools might not work properly unless I gave PowerToys admin access, too. Hence the question: Why Give PowerToys Admin Access?
Why Give PowerToys Admin Access?
Because other apps use it…
I turned to MS Learn. There I found an item entitled PowerToys running with administrator access. It pretty much explained everything. Here are the salient points from its second heading:
PowerToys only needs elevated administrator permission when interacting with other applications that are running in administrator mode. If those applications are in focus, PowerToys may not function unless it is elevated as well.
These are the two scenarios PowerToys will not work in:
- Intercepting certain types of keyboard strokes
- Resizing / moving windows
Seems pretty straightforward to me, and makes perfect sense. Here’s how to get to admin mode in PowerToys from its default “Running as user” mode.
Making the Switch: User to Admin
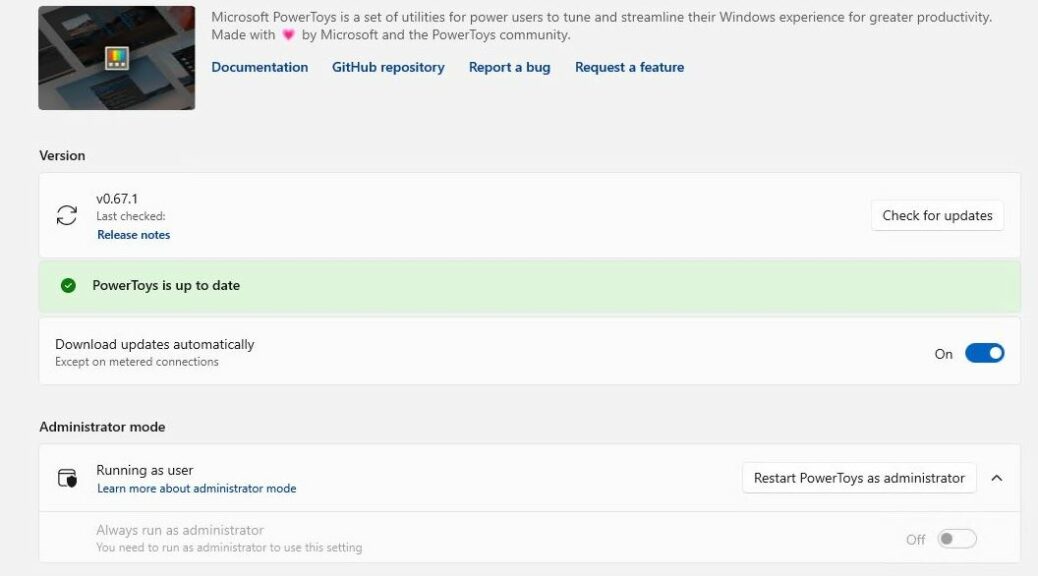
You must open PowerToys in admin mode to switch to admin mode. If PowerToys is running, right-click its taskbar icon and select exit to terminate its runtime instance. Next, right-click the PowerToys icon in the start menu, and select “Run as administrator.” In Settings, Administrator mode, move the “Always run as administrator” slider from off (as shown in the lead-in graphic) to On. That’s it!
Now, you can run some of your tools and programs in admin mode without warning messages from PowerToys (or concerns that its tools might not work as they’re supposed to). I like it, and I like ready access to simple, intelligible explanations as to why things must change to work properly.
One More Thing: v0.67.1 Is Out
As I write this item, MS has just released PowerToys update to v0.67.1. While you’re poking around inside Settings/General click the “Check for updates” button. If your PC isn’t yet caught up to this latest version, it’ll take care of it for you. Or, try this command
Winget upgrade Microsoft.PowerToys
if you prefer. Cheers!