I remember the old Morton salt motto: “When it rains, it pours.” Aside from providing an apt description for today’s weather in Central Texas, it also describes my reaction when running winget this morning. I find myself observing EoY Windows Updates (that’s short for “End of Year”). I’m thinking: lots of software makers are pushing updates now so they can take a holiday break, too.
Mucho Activity While Observing EoY Windows Updates
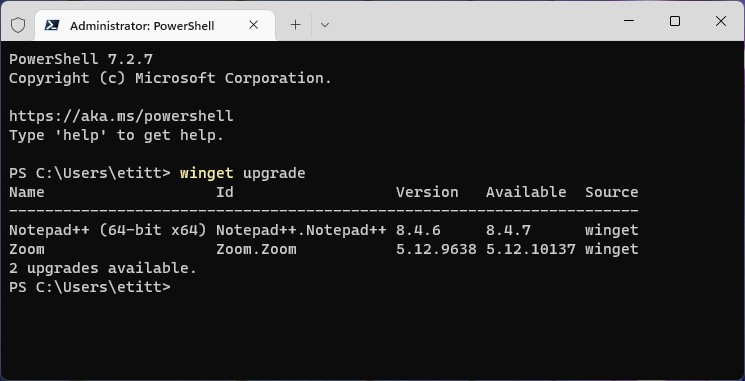
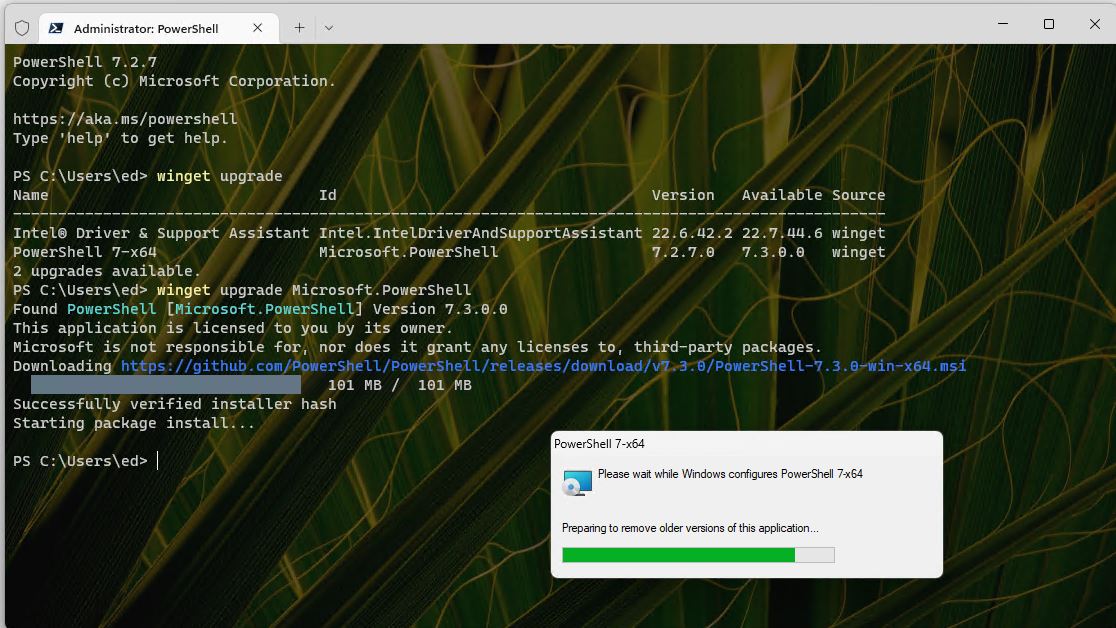
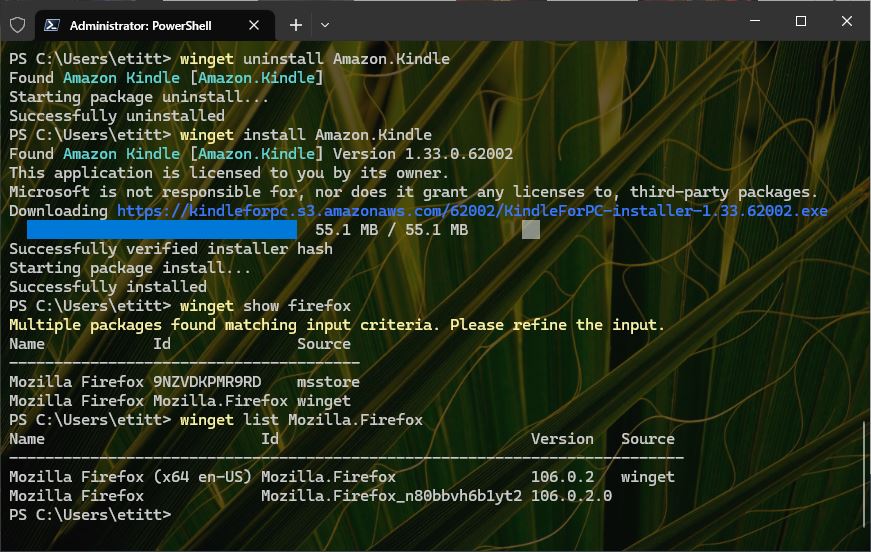
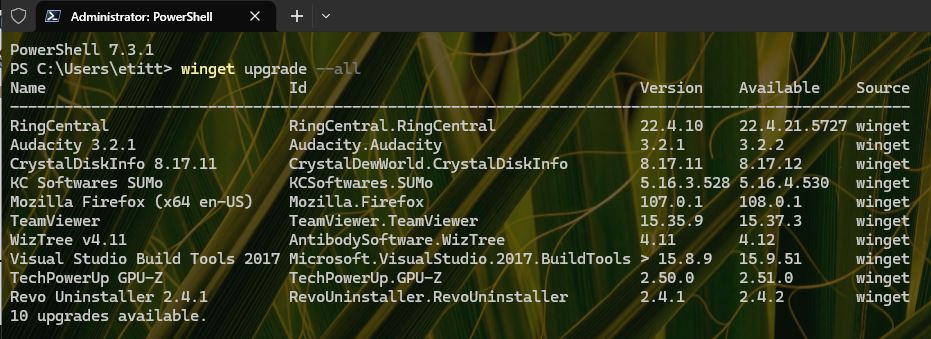
As you can see in the lead-in graphic — PowerShell snapshot — winget found 10 items in need of upgrade this morning. KC Software’s Software Update Monitor (SUMo) found an additional 10 over and above that number. Items included Zoom, CPU-Z, Ring Central, GeForce Experience, FileZilla, SnagIt, MTPW and more. Wow! Last week was dead quiet by comparison.
Then, I decide to check on other PCs here in the office, beyond my production desktop (i7 Skylake running Windows 10 current version). I don’t see as much activity there, but do find some:
Device                     OS     #Updates
----------------------   ------   --------
P16 Mobile Workstation   Win11P       0
ThinkPad X380 Yoga       Win11D       2
Surface Pro 3            Win10RP      3
ThinkPad X12 Hybrid      Win11D       0
ThinkPad X1 Extreme      Win11P
----------------------   -------   -------
P=Production; D=DevChannel, RP=Release Preview
Upon considering this data, I have to change my initial supposition. While it’s probably true that software makers are pushing a last round of updates out to Windows users, looks like it’s not coming in a total rush this morning. Because I updated all of those other machines Wed-Fri last week, I can say it’s been coming for a while now. Looks like I didn’t get around to my production PC until later, rather than sooner.
More Data Delivers More Insight
This just goes to show that a larger sample size is helpful in making observations about updates more informed and cogent. It’s probably a good idea to schedule one more update cycle before the holidays (if you haven’t done so already). After that, it should be safe to wait until January 3 — or later — to make a next check.
My gut feel is not much will be happening, update-wise, for the rest of the next couple of weeks. I guess that means the EoY break is at hand. Enjoy!
Note: I will be blogging through Wednesday, December 21. I’m off then, but I’ll resume on December 26. Happy Holidays to one and all.