Category Archives: PowerShell

Windows Terminal PowerShell Selection

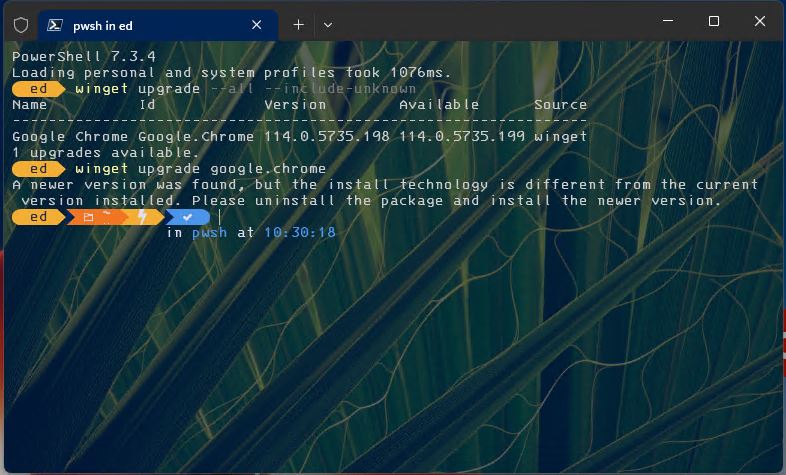
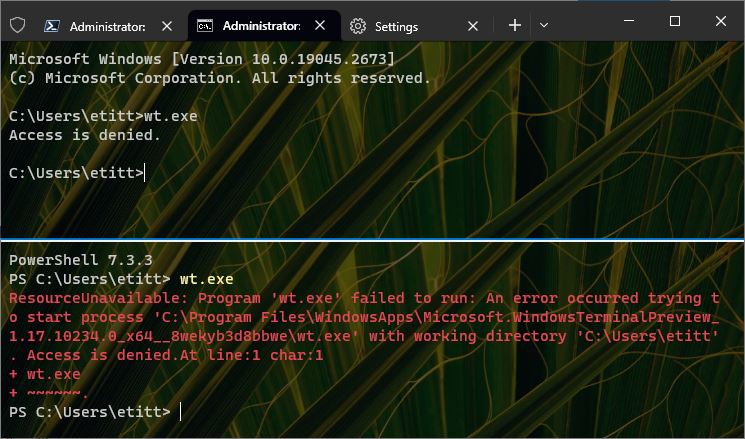
I have to laugh. Yesterday, I noticed version 5 of PowerShell  running inside Windows Terminal. So I naturally wondered: “How do I upgrade this?” Turns out, in fact, that no upgrade is needed. It all comes down to the current Windows Terminal PowerShell selection. I’ll explain shortly, but first: look at the window in the lead-in graphic.

Managing Windows Terminal PowerShell Selection

By default, version 5.1.xxx… appears when you open Windows Terminal. But it’s easy to get to a newer PowerShell version. No upgrading is necessary: you need only know how to do this. If you click on the down-caret at the far right of the title bar, a menu appears, like this:

Windows Terminal PowerShell Selection.choose shell

The down-caret menu lets you choose among shells you can run in a Windows Terminal tab. [Click image for full-sized view.]

The trick — if you can call it that — is to choose the right version of PowerShell (and corresponding default) to run. The top item in the menu corresponds to version 5.1.xxx. The fourth item down brings up the latest 7.x PowerShell version (specifically, 7.2.5). If you click Settings, you can also choose this version as the “Default Profile” which makes the new version (rather than the 5.1.xxx version) appear whenever you open Windows Terminal, or click the “Plus” sign to open a new default Terminal tab.

As with many other things in Windows World, foreknowledge and understanding are key to doing things right. In my case, I had no need to update PowerShell. I only needed to pick the right version to run inside Windows Terminal. Now I know how. If you didn’t know how already, this should make things equally simple for you. Cheers!

Facebooklinkedin
Facebooklinkedin

WingetUI Offers Useful Update Capability

Lately, I’ve been using the Winget PowerShell applet to assist with updating my Windows 10 and 11 PCs. Thanks to Martin Brinkmann at Ghacks, I’ve found a GUI front end for that tool. Indeed, the aptly-named WingetUI offers useful update capability.

Winget.UI does other things, too. It let you explore all 3460 packages under its purview (“Discover Software” tab). It also shows a complete list of all packages already installed on your PC (“Installed applications”). On first blush, Winget.UI looks like a good tool. Its GitHub page provides the lead-in graphic for this story.

Winget.UI Offers Useful Update Capability.updates

“Available updates” quickly identifies and provides ready access to item-by-item update launch. [Click image for full-size view.]

What WingetUI Offers Useful Update Capability Means

To update an item from the Software Updates tab in Winget.UI (shown above), simply double-click its corresponding Winget entry under the “Installation source” heading. Personally, I find this prefereable to the winget upgrade --all command. Why? Because it provides item-by-item control. That lets me skip elements (such as MS Teams), which experience has taught me isn’t really amenable to winget updates.

The double-clicking takes a little getting used to, but by and large the update function works well. It worked well for third-party packages, including Kindle, Python 2, and Revo Uninstaller. It hit errors on some built-in MS components, such as the WADK and Edge Runtime. Based on prior history, I didn’t even try the Teams components.

Good, But Not Perfect

I’ll need to spend more time with WingetUI to fully understand and appreciate its foibles and strengths. For now, it’s much like other update tools I use: good — indeed, pretty helpful — but by no means either great or perfect. Perhaps that’s just the way that update tools work here in Windows World!

[Note: Nochmals Danke schoen to Mr. Brinkmann for an interesting find.]

Facebooklinkedin
Facebooklinkedin

Checking Windows DotNET Versions Installed

A recent Windows news story reports that “KB5012643 for Windows 11 breaks .NET Framework 3.5 apps” (WindowsReport). This raises some interesting questions for Windows 11 users. For some, it apparently renders certain apps inoperable. Indeed, the bug highlights the value of checking Windows DotNET versions installed on a given PC.

So I did a little research, and learned there are at least two methods to run this info down. In fact, MS offers a multi-page Docs item that explains how to do it using PowerShell. Belgian-based software developer (and former MVP) Nick Asseloos’ ASoft company goes another way. It offers a free download named .NET Version Detector. Its output provides the lead-in graphic for this story.

What Checking Windows DotNET Versions Installed Tells You

As you can see by examining the lead-in graphic. the detector provides information of several kinds, conveniently listed in order from top to bottom by row:

Row1: Versions of the MIcrosoft .NET Framework Installed. In my example, it shows older versions to the left (2.0, 3.0, and 3.5, with SP levels),and current versions to the right (4.8, with latest update level).

Row2: Extra Details show the folder locations for the various frameworks installed. It also shows names and levels for frameworks installed as well (mostly relevant to 4.x versions), plus languages and updates (mostly a bunch of KB article identifiers).

Row3: .NET Core versions installed for 64-bit (left) and 32-bit (right) enviornments. Given my machines all run Windows 10 or 11, 32-bit is mostly MIA.

How ‘Bout Going the Other Way ‘Round?

OK, we know now how to determine what .NET versions are installed on a Windows PC. What about figuring out which applications use some specific .NET framework? That’s a bit trickier. The only sure-fire method I could find was to fire up SysInternals Process Explorer. There’s a tab named “.NET Assemblies” that shows up whenever a process that includes same gets highlighted.

This means you can find out which .NET versions are in use primarily by observation and inspection. Stack Overflow has an article that explains how to automate this process for managed processes using C# or PowerShell. I’ll leave that as an “exercise for the reader” for those inclined to work out to that extent!

[Note: this story gives a shout out to the redoubtable Martin Brinkmann at Ghacks, whose 2014 story (updated 2018) introduced me to ASoft .NET Version Detector. Nochmals vielen Dank! (Thanks very much again!)]

Facebooklinkedin
Facebooklinkedin

Windows 11 Says Sayonara WMIC

Because it was announced in Windows 10 21H1, it was just a matter of time. The Windows Management Interface Command-Line utility, aka WMIC, is deprecated. No longer simply slated for oblivion, WMIC is missing from the Dev Channel version of Windows 11. The lead-in graphic shows what (doesn’t) come up in cmd.exe for Build 22483 and higher. Hence my title: Windows 11 says Sayonara WMIC. For the record, it’s still in production Windows 11 versions but reads “WMIC is deprecated.” in red.

Windows 11 Says Sayonara WMIC.Win11-prod

Notice the red text at top of help response. It’s MIA In Dev Channel versions now.[Click image for full-sized view.]

Though Windows 11 Says Sayonara WMIC, WMI Remains Around

Microsoft has good advice for would-be WMIC users. They should  use PowerShell replacement cmdlets instead. Turns out that the Windows Management Interface (WMI) remains alive and well. In a story about this change-over, WinAero.com suggests using a specific PowerShell command to learn more:

Get-Command -Noun WMI*

For the record, that string produces the following output that shows this is just the beginning of a sizable set of cmdlet documentation.Windows 11 Says Sayonara WMIC.ps-info

The 5 cmdlet WMI facilities: Get, Invoke, Register, Remove and Set.
[Click image for full-sized view.]

Each of these five facilities has its own muti-level help files. Looks like the switch-over is supported. That said, it requires climbing a new learning curve to bring users under the PowerShell umbrella.
Cheers!

Facebooklinkedin
Facebooklinkedin