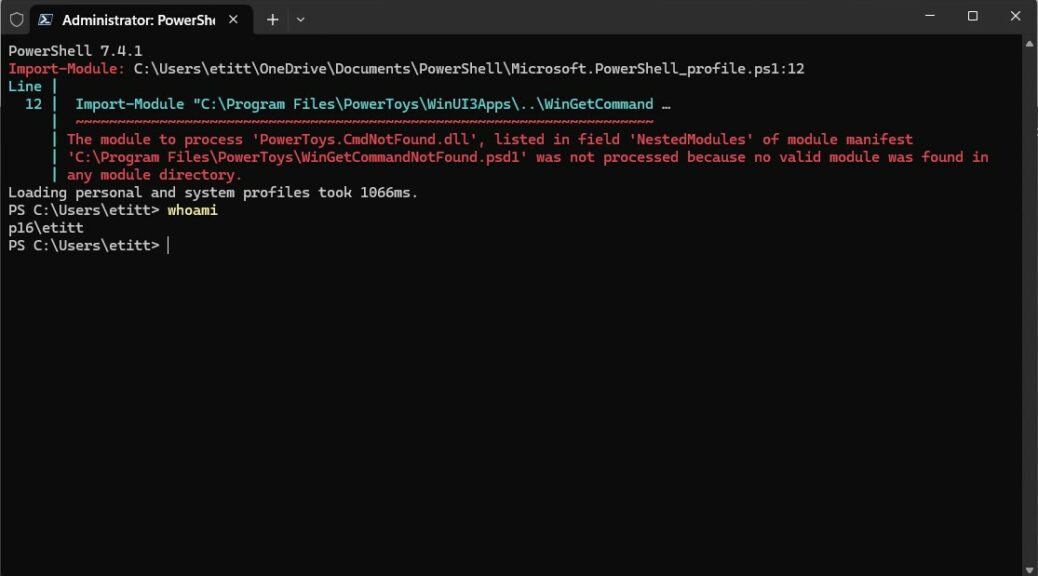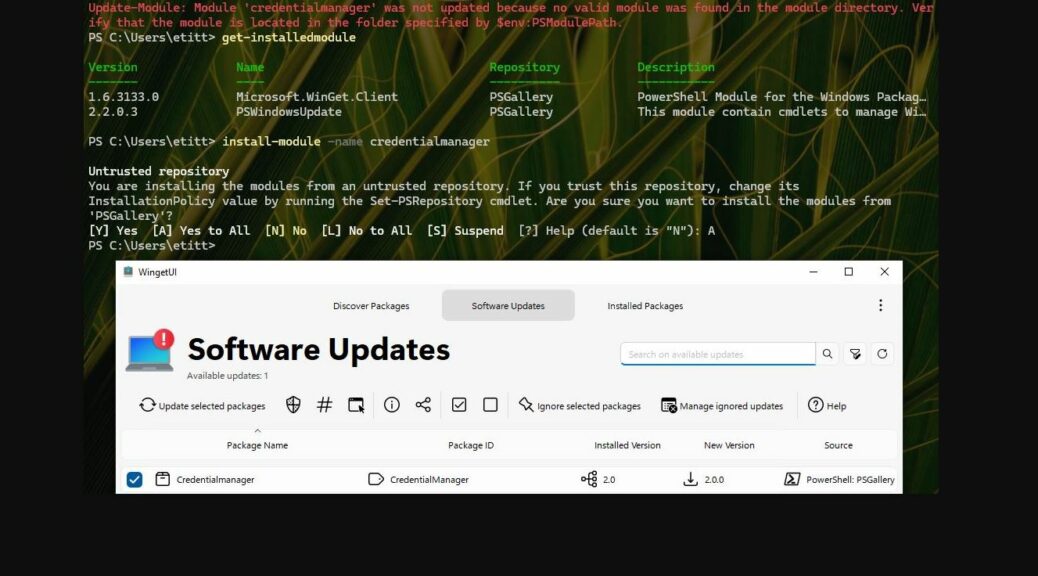
Alas, all tools have their little quirks. I’ve noticed recently that WingetUI is telling me to update CredentialManager (CM) from version 2.0 to version 2.0.0. They’re the same thing! Even more interesting when I tried running the Update-Module cmdlet manually, it told me CM wasn’t even installed on the target PC. So I used Install-Module to get it installed. You can see what happened next when I re-ran WingetUI in the lead-in graphic. Sigh.
Why Say: WingetUI Throws Bogus Update Notification?
What else should I say when WingetUI tells me to update something that’s not installed? And then, once installed it finds version mismatch from a “2.0” label from the developer versus aninternal Winget “2.0.0” label? Sigh again. I remember this kind of thing happening from time to time as I ran the old Software Update Monitor (SUMo), now out of action.
Look what happens when I click my way into “Package details” for CredentialManager inside WinGetUI and then click the update button for that package:
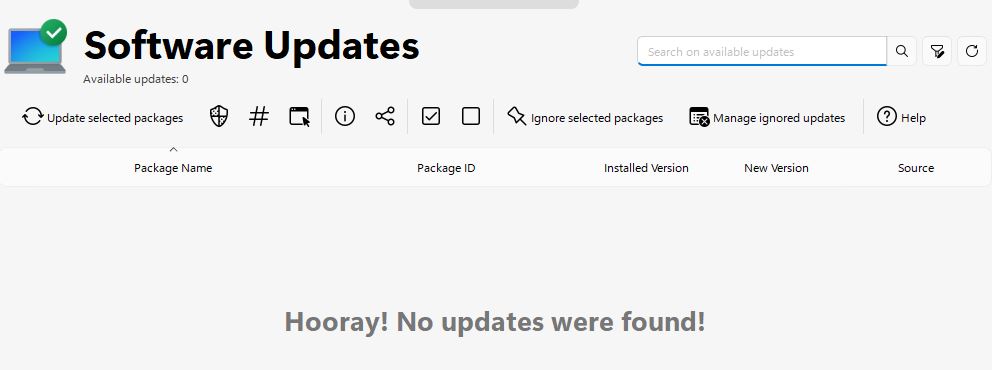
When it actually goes to look, it finds no update.
My best guess is there’s something in the CM manifest in the PS Gallery that’s presenting the version number as 2.0, and something going on with Winget that changes the value to 2.0.0. And indeed, if I look at get-installedmodule data again it shows the CM version number as 2.0. I’m hoping Demitrius Nelon and the winget team will check this out, and share their findings. Also filing a bug report via GitHub at the WingetUI pages.
Should be interesting to see what kind of response comes up. Cheers!