Gosh, it’s been busy here at Chez Tittel this week. I’ve found myself setting up numerous Hyper-V VMs, both for Windows 10 and 11. Thus, it occurred to me that reciting my Hyper-V VM setup drill step-by-step might be of interest to some readers. I’ll explain what I have to do when creating the VM, and then in making it “minimally usable” (IMO, anyway). Here goes…
Following Hyper-V VM Setup Drill Step-by-Step
If I have some specific Windows build (10 or 11) I need to virtualize and test, I’ll build a matching ISO using the batch files from UUPdump.net. Most of the time, my ISOs come from either the MS Download Windows 10, Download Windows 11 or the Windows Insider Preview Downloads pages.
Creating and Installing the VM Itself
I usually use the New > Virtual Machine path from Actions (top-right control pane) in Hyper-V Manager to create new VMs. That’s because of two gotchas in default setup: it chooses Gen 1, and it doesn’t enable TPM 2.0 (though it does enable Secure Boot). If you catch the VM and turn it off before the first boot, you can fix these items easily. Be sure to choose Gen 2, and to enable TPM 2.0 (for Windows 11 VMs; Windows 10 doesn’t care).
Another thing: it’s necessary to use a low-level KVM or gain direct physical access to the Hyper-V host PC to run the Windows Installer when creating the VM. Then, there’s one more gotcha to fix after you bring up the VM for the first time. It won’t work in enhanced mode because of an OS default in Sign-in options. You can’t use an enhanced RDP session unless you disable the default to “Require Windows Hello sign-in for MS Accounts” (it doesn’t work with RDP).
Making the VM Runtime “Road-Worthy”
A bare bones OS isn’t really usable for me without some changes and additions. The rest of my drill is what I think Windows needs. You are free to disagree, or to vary the choices involved. But here’s what else I do after I get through installation and the OOBE (out-of-box-experience doing post-install configuration and choices):
- Run Windows Update to catch the image up. Run updates in the MS Store.
- Download PatchMyPC Home Updater, then use it to install Chrome, Firefox, 8GadgetPack, Notepad++, Advanced IP Scanner, Everything, CPU-Z, CrystalDiskMark and CrystalDiskInfo. Over time, I may add other of its options…
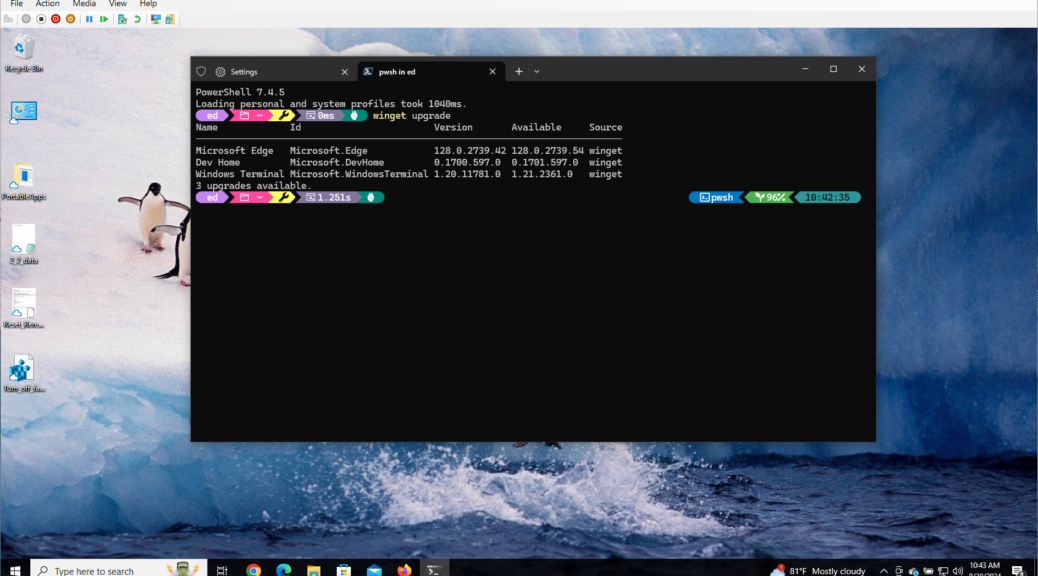
- On Windows 10 images it may be necessary to install Windows Terminal and the latest PowerShell version. I also update and customize my WindowsTerminal settings for OhMyPosh prompts.
There are one or two applications I may install manually because PatchMyPC doesn’t support them as yet: the WizTree disk space optimizer the UniGetUI WinGet alternative. Then, I’m ready enough to put my new VM to work. Basta!