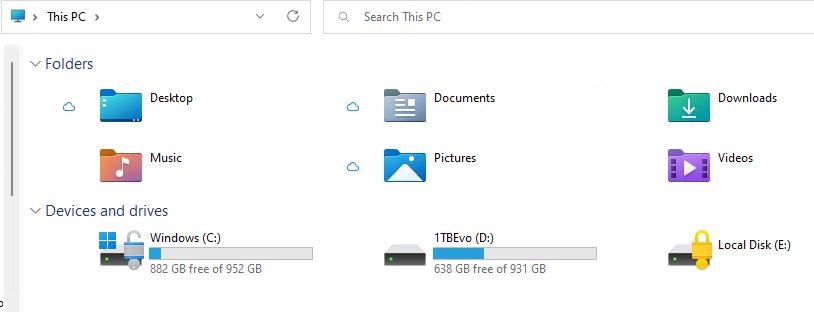
To qualify for Windows 11, a PC must support Secure Boot. It doesn’t necessarily have to be turned on. But if it is turned on, I learned last week that BitLocker follies follow secure boot like ducklings follow their Momma. In other words: if BitLocker is turned on for the C: (Windows boot/system) drive, it must also be turned on for the File History drive that Windows 11 uses as well.
What Does BitLocker Follies Follow Secure Boot Mean?
I learned this hard way when I tried to turn File History on for my Lenovo X12 Thinkpad PC. Because it had secure boot turned on, I had to enable BitLocker for the external drive upon which I targeted File History. This immediately got me to climbing an “interesting” learning curve.
While summiting that slope, I learned the following things:
1. You can’t manipulate an external drive’s BitLocker status through RDP. For security reasons, you must be directly logged into the target system. Sigh.
2. Turning BitLocker on requires setting a password to obtain or deny access to its encryption/decryption capabilities. This makes good sense, but gives me “just one more thing” to remember. Sigh again.
3. At first, BitLocker encryption looks fast. It got up to 84-85% complete in minutes. To my dismay and disappointment, the final 15-16% took HOURS to complete. By no coincidence whatsoever, space consumed on the drive is between 15 and 16%, too. It took the better part of 6 hours for the encryption to finish, in fact (0.71 TB worth).
4. Now, when I want to access the encrypted drive, I must first open it in Explorer, and unlock it by providing its password.
It’s All Good . . . I Hope
At least I now understand the necessary relationship between Secure Boot, BitLocker, and File History. I hope I don’t need to go a-troubleshooting soon. But if I must, I will. Stay tuned: I’ll keep you posted.
