My production desktop’s dual monitor setup gets a little wonky from time to time. For some odd reason, the right-hand (primary) monitor will start blinking on and off. It’s annoying, but not overwhelming. When it happens, an apparently flaky video driver forces fix revisits. Basically, I keep trying stuff until something works. By no coincidence, that’s a decent operational definition for troubleshooting.
Items Checked When Flaky Video Driver Forces Fix Revisits
It usually goes something like this:
1. Use the Winkey-Ctrl-Shift-B key combo to reset the graphics driver. It does work, sometimes…
2. Check GeForce Experience to see if a newer driver is available; if so, install it.
3. If using the Nvidia gaming driver, switch to Studio driver, or vice-versa.
4. Uninstall, then reinstall the Nvidia driver. I also recommend using the freeware DDU tool to remove all traces of the old before installing the new.
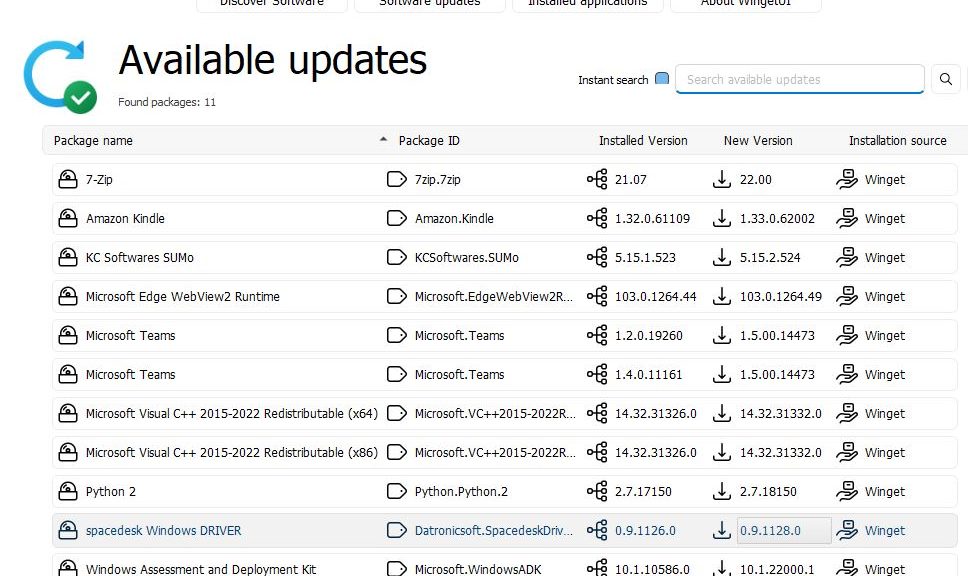
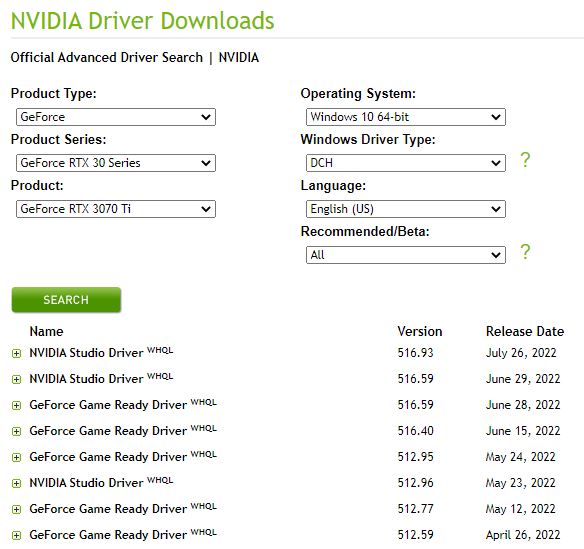
5. Visit the Nvidia Driver Downloads page, and start trying older drivers, going back one version at a time… The recent entries in that list for my GeForce RTX 3070 Ti appear as the lead-in graphic for this story.
Today’s Fix Occurred Mid-way in Sequence
I got to Step 4 today before the blinking stopped. That’s a bit further than I usually have to go, but that’s Windows for you. I’m just glad I can concentrate on what’s showing on both displays, rather than how one or the other is (mis)behaving.
Some Windows errors or gotchas can be set aside and ignored for a while. Others — especially when they interfere with normal system operation — demand immediate attention. While today’s gotcha was one of the latter, it was familiar. Thus, I knew what to do, and how to do it, with minimum need for diagnosis and root cause analysis.
I just marched through the foregoing list and found my solution in under 10 minutes. I can only wish that all problems were so easily fixed. And that’s the way things are unfolding today, here in Windows World. Stay tuned: there’ll be more!
Note Added August 13
Yesterday, I installed a new NVIDIA Studio Driver (version 516.94). The problem has not re-appeared since I applied my uninstall/reinstall “fix” earlier this week. That jumps me up from Step 4 (original fix) to Step 2 (current fix). And so it goes…